Dynamically Setting Meta Tags in Remix
Check out how to dynamically update the Meta tags on your webpage from Remix sub-routes for better SEO.
Often when developing a website, the meta information about a webpage is determined by some of the content that gets loaded into the page.
A product's page for headphones might have a description: Sony Headphones, the number one product in its class!, a chat page might be titled: Conversation with Leeland, or maybe your page has a specific image you'd like to show up on google's search results, etc...
This is easy enough to set up with Meta tags in HTML, but how would you set the metadata on a page that uses a shared component that can handle many different pages? (For example a re-usable product page component)
Remix gives us a way to set this up super easily.
The repository for the final sample project can be found here
Starting A Remix Project
We're going to create a Profile Page at a url like /profile/<username> and updates the browser's title tab using metadata to <username>'s Profile Page.
To get things started, we'll go ahead and create a new Remix project.
npx create-remix@latest
This tutorial assumes you have node installed and up-to-date
Once you've gone through that, go ahead and pop open your new project.
Setting up a Profile Route
Remix's routing system works off of the files in your project. The existing /app/routes/index.tsx will be your home page route at /.
We need to set up a route for a profile that can take any username and fetch the user's data accordingly.
In /app/routes create a file named profile.$username.tsx.
Because of the naming convention used here, this will be a route at /profile and has a sub-route with a wild-card param $username. Combined we get our /profile/$username route.
Go ahead and paste the following code into that file:
import { json, LoaderFunction, useLoaderData } from 'remix'

type User = {
    username: string;
    first: string;
    last: string;
}

export let loader: LoaderFunction = async ({ params }) => {
    const users: User[] = [
        {
            username: 'sabinthedev',
            first: 'Sabin',
            last: 'Adams'
        },
        {
            username: 'leeland',
            first: 'Leeland',
            last: 'Adams'
        }
    ]

    const user = users.find(user => user.username === params.username)

    if (!user) {
        throw new Response('Not Found', {
            status: 404
        })
    }
    return json(user)
}

export default function Profile() {
    const user = useLoaderData()

    return (
        <div style={{ display: 'flex', height: '100%', justifyContent: 'center', alignItems: 'center', background: '#0c0f12' }}>
            <h2 style={{ flex: 1, textAlign: 'center', color: '#f1f1f1', fontFamily: 'system-ui' }}>{user.first} {user.last}</h2>
        </div>
    );
}
This sets up just a basic page that will display the user's first and last name. Currently, we have manually added two users to our "database", but we can imagine this is connected to an actual data store!
To test this out, start up your server by running npm run dev and head over to http://localhost:3000/profile/leeland.

Beautiful! But notice up at the top that not-so-useful New Remix App tab title? We'll want to change that to something more meaningful.
Setting Dynamic Metadata
To set up our metadata, we can export a meta function from our route that Remix will use to automatically wire up our desired metadata.
Start off by making sure to import MetaFunction from the remix library.
import {
    json,
    LoaderFunction,
    useLoaderData,
+    MetaFunction
} from 'remix'
Then to get things started go ahead and add this exported meta function:
export const meta: MetaFunction = () => {
    return {
        title: 'Profile Page'
    }
}
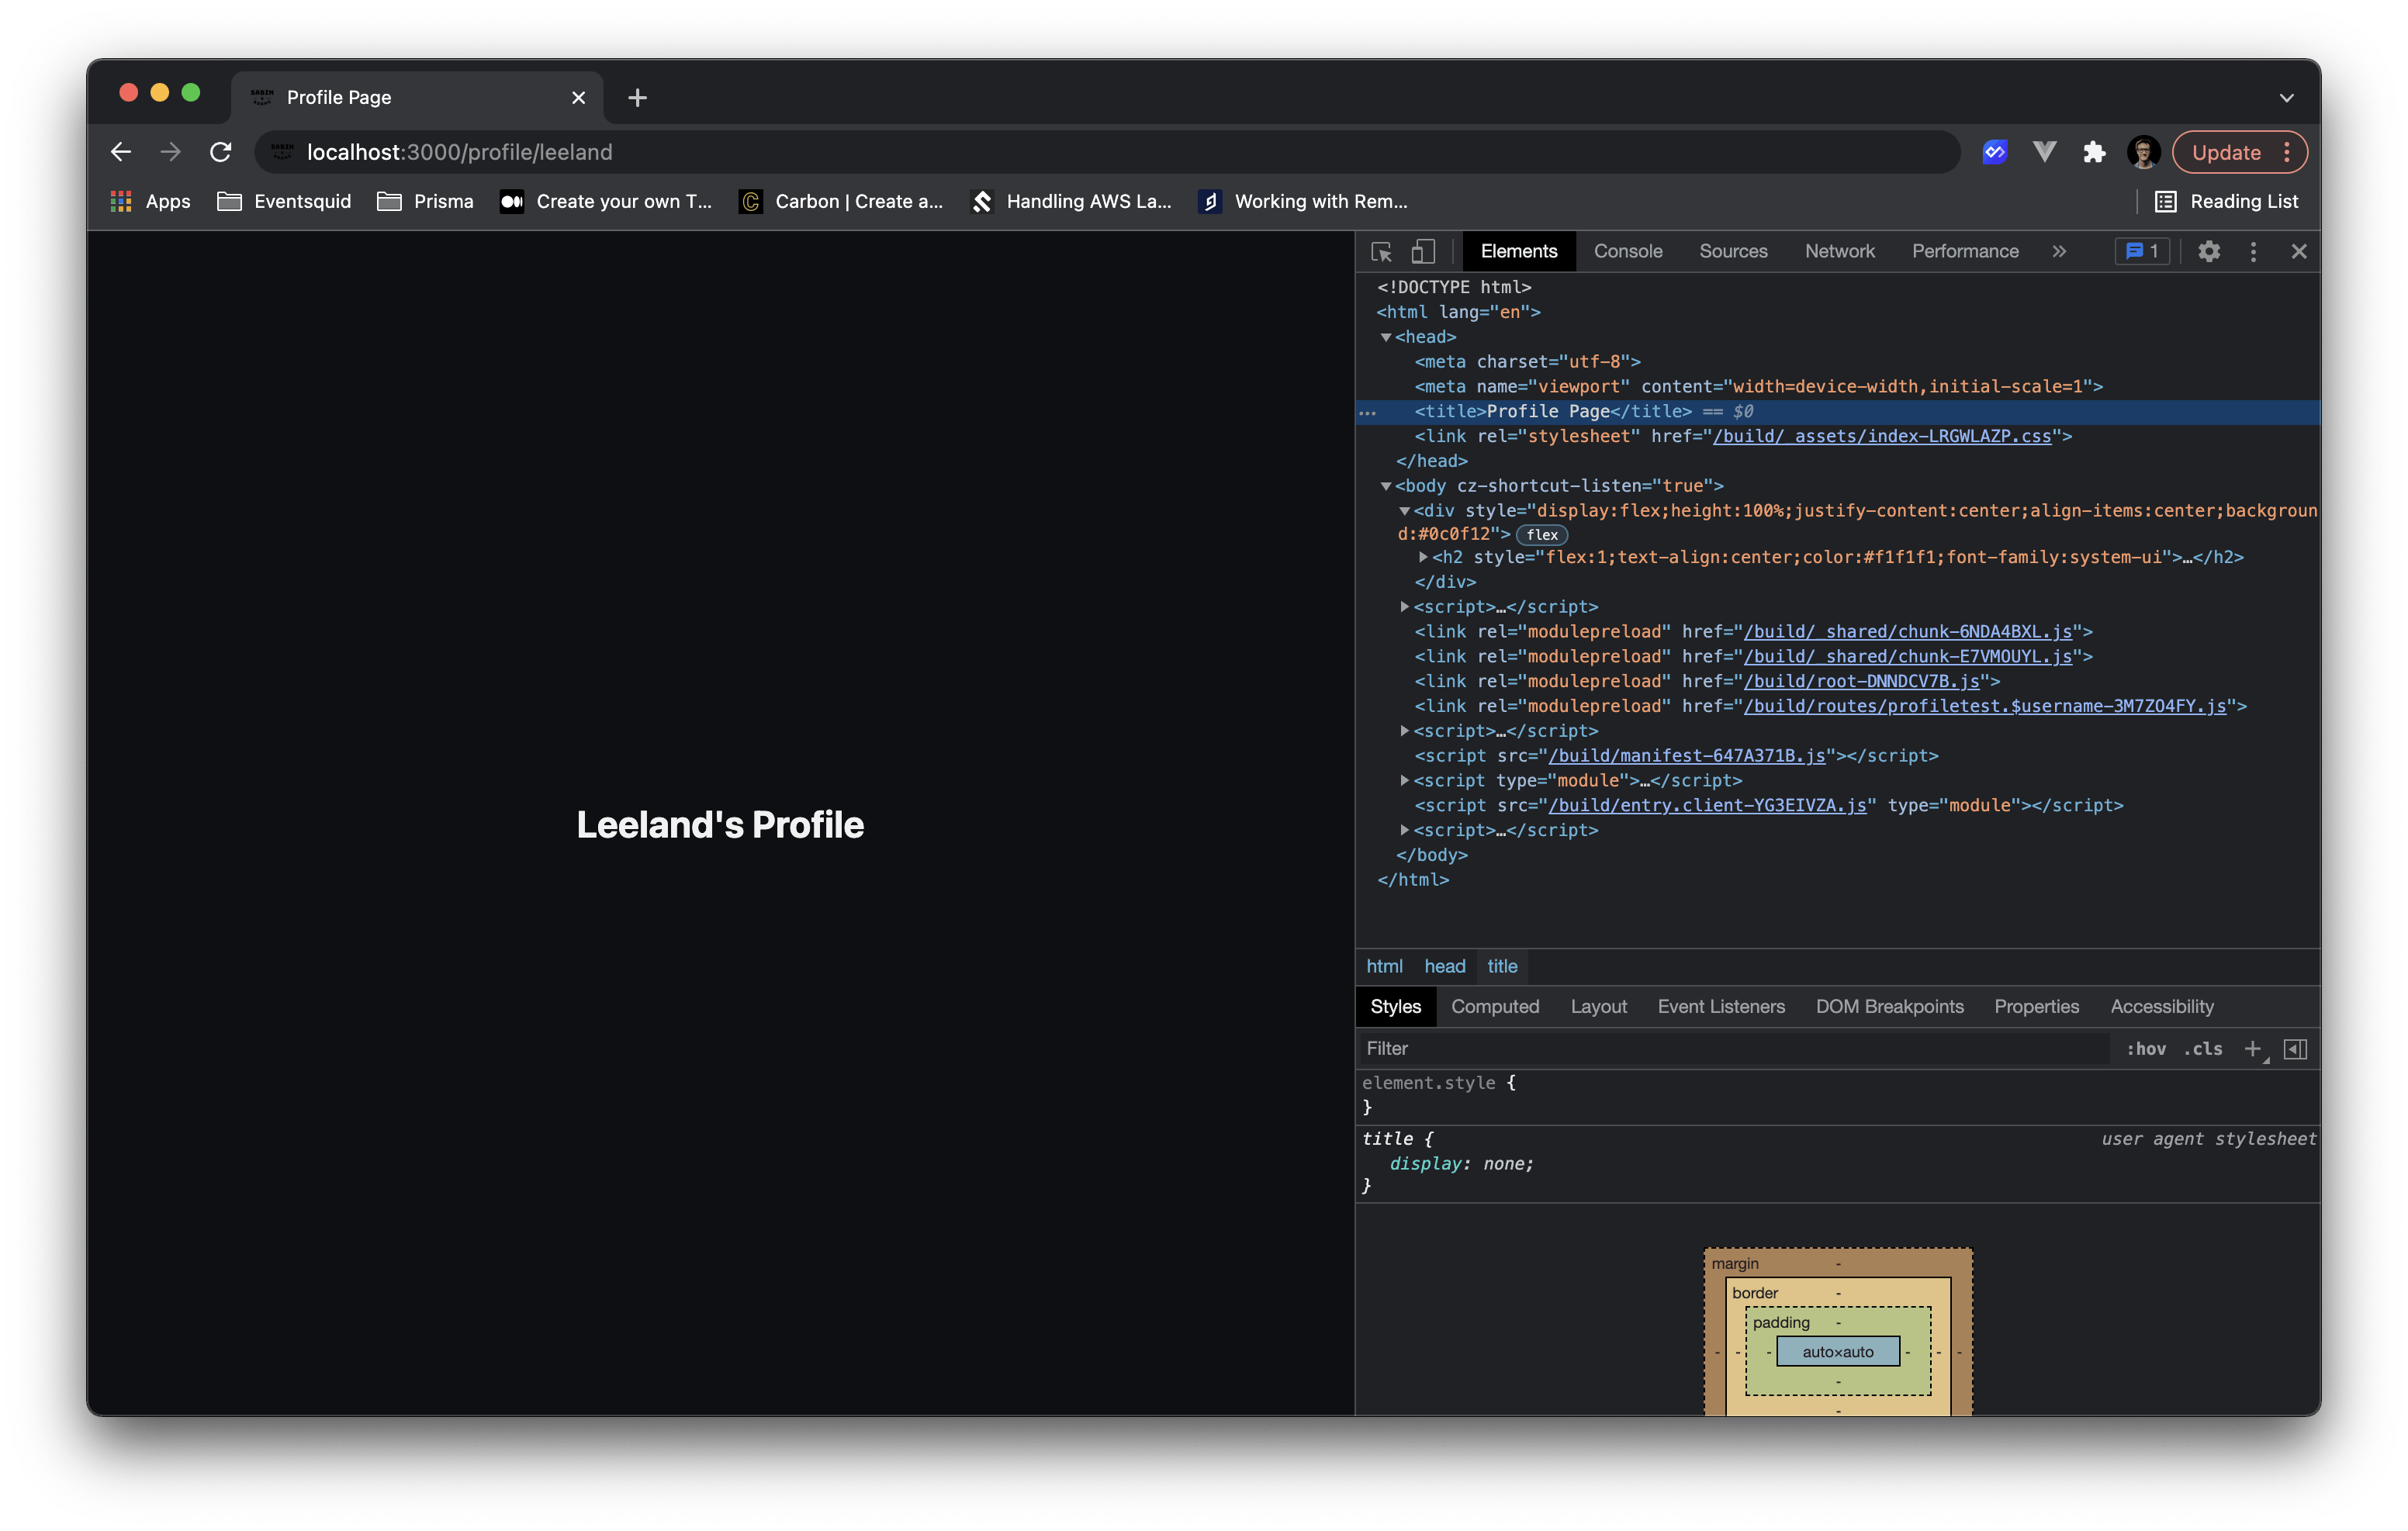
If you check back in your browser now, you'll see that Remix registered that function and automatically added the meta tag for you to set up the tab title!

This is cool, but what if we want a custom title depending on the user's profile we are visiting? The MetaFunction in remix takes in an object with a bunch of useful data. Particularly the data key, which contains the data from our Loader function.
Let's tap into that to get access to the user we loaded up.
export const meta: MetaFunction = ({ data }: { data: User }) => {
    const formatName = (name: string) => name.charAt(0).toUpperCase() + name.slice(1)
    return {
        title: `${formatName(data.username)}'s Profile Page`
    }
}
Now back over on our profile page we should see a much more descriptive message!

Using a process like this, we can dynamically set any kind of metadata we'd like for our page!
Bonus: Setting up Twitter Metadata
What if we want to share the link to this profile on twitter?
I'll be using a tool called Ngrok and a Twitter Card Validator to preview what our link preview would look like in a Twitter post.
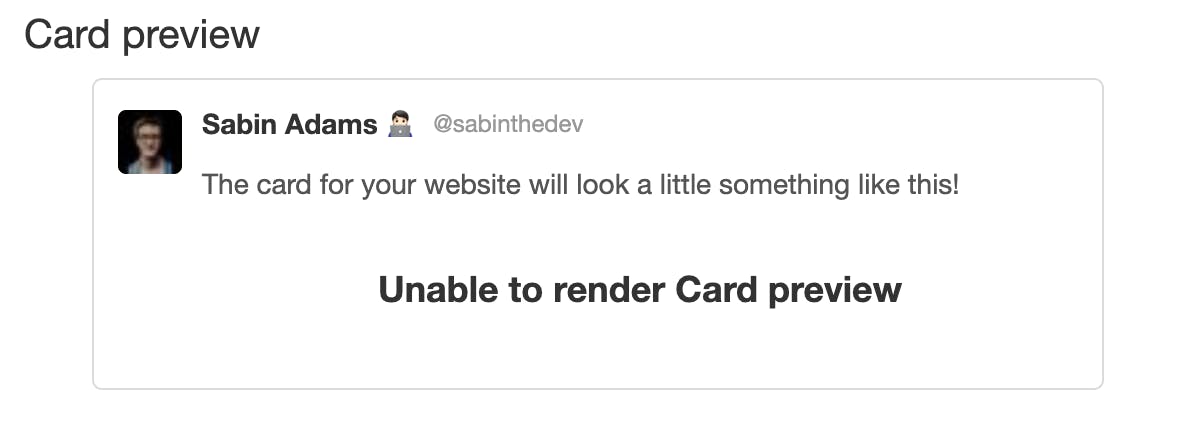
Currently if we check out our link preview, we will see something like this 👎🏻:

We don't have any metadata describing to Twitter how we want this data displayed! Let's update our meta function to include some details:
export const meta: MetaFunction = ({ data }: { data: User }) => {
    const formatName = (name: string) => name.charAt(0).toUpperCase() + name.slice(1)
    return {
      title: `${formatName(data.username)}'s Profile Page`,
      'twitter:card': 'summary_large_image',
      'twitter:creator': `@${data.username}`,
      'twitter:site': `@${data.username}`,
      'twitter:title': `${data.first} ${data.last}`,
      'twitter:description': `${data.first} ${data.last}'s profile page. Check it out @${data.username}`
    }
}
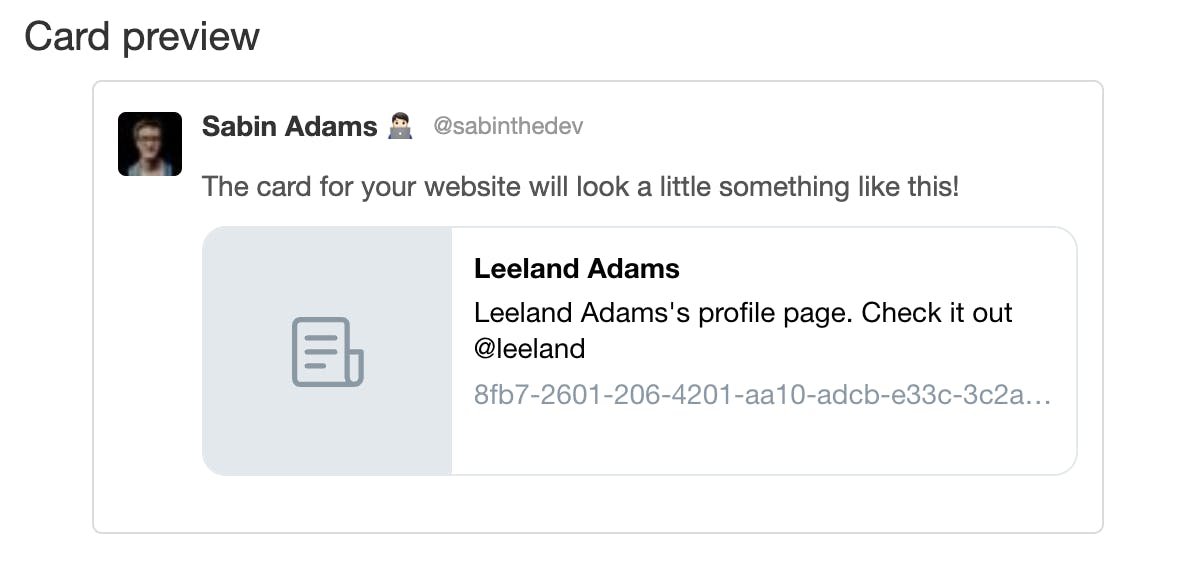
Now we should get something more like this:

Ahh, much better! It displays some useful information about the link we are sharing! We could also add a preview image to this using the twitter:image property.
Conclusion
Remix has a great set of tools that take a lot of the grunt-work out of the mix for you. This is just one example of those!
Hopefully this was helpful and will encourage you to set some of that important metadata to help provide users and search engines more context into what your site has to offer!
Thanks for reading!
p.s. If you like this article, be sure to follow me on Twitter for updates when I post new articles!

