


It can look like a daunting task if you haven't had to add authentication to your application before. This is because there are so many things to consider:
- Where do I store my user data?
- How do I make sure it is secure?
- What should the sign-up and sign-in flows look like?
Fortunately, many tools out there take away these concerns and give you a clean and simple way to set up secure authentication in your applications.
My personal favorite of these tools is Clerk.

In this article, you will learn how to use Clerk to add sign-in and sign-up functionality to a React application.
The starting point
To start a React application, you will use Next.js. Next.js provides a framework that allows you to easily build React applications of varying complexity and provides built-in niceties such as routing, bundling, and local development tools.
In the past, we may have opted for a simple React application without a framework, however, the React team now suggests using a framework such as Next.js or Remix to scaffold your React applications.
See the React docs for more information.
To start a Next.js application, navigate via the terminal into a folder where you would like to save your project and run the following command:
$ npx create-next-app@latest
You will be asked for a few bits of information. For this tutorial, you should use all of the default values except opt out of TypeScript by selecting No when asked if you would like to use TypeScript.
Navigating the project
Once your project is set up and you have installed your node modules, you should have a complete project ready to be run locally.
If you did not opt to have your
node_modulesinstalled, runnpm iin the terminal.
The bulk of your application is stored in src/app. Here you will find a file named page.js which contains the boilerplate page the project comes with.
To start your development server run the following command in your terminal:
$ npm run dev
After running that command, head to http://localhost:3000 in your browser to see what the starter project looks like.
To stop the development server hit CTRL+C in the terminal that is running the process.
For more information about Next.js projects, check out their documentation.
Add Clerk
With a project up and running, you are now ready to begin setting up authentication for that project using Clerk.
Create an account
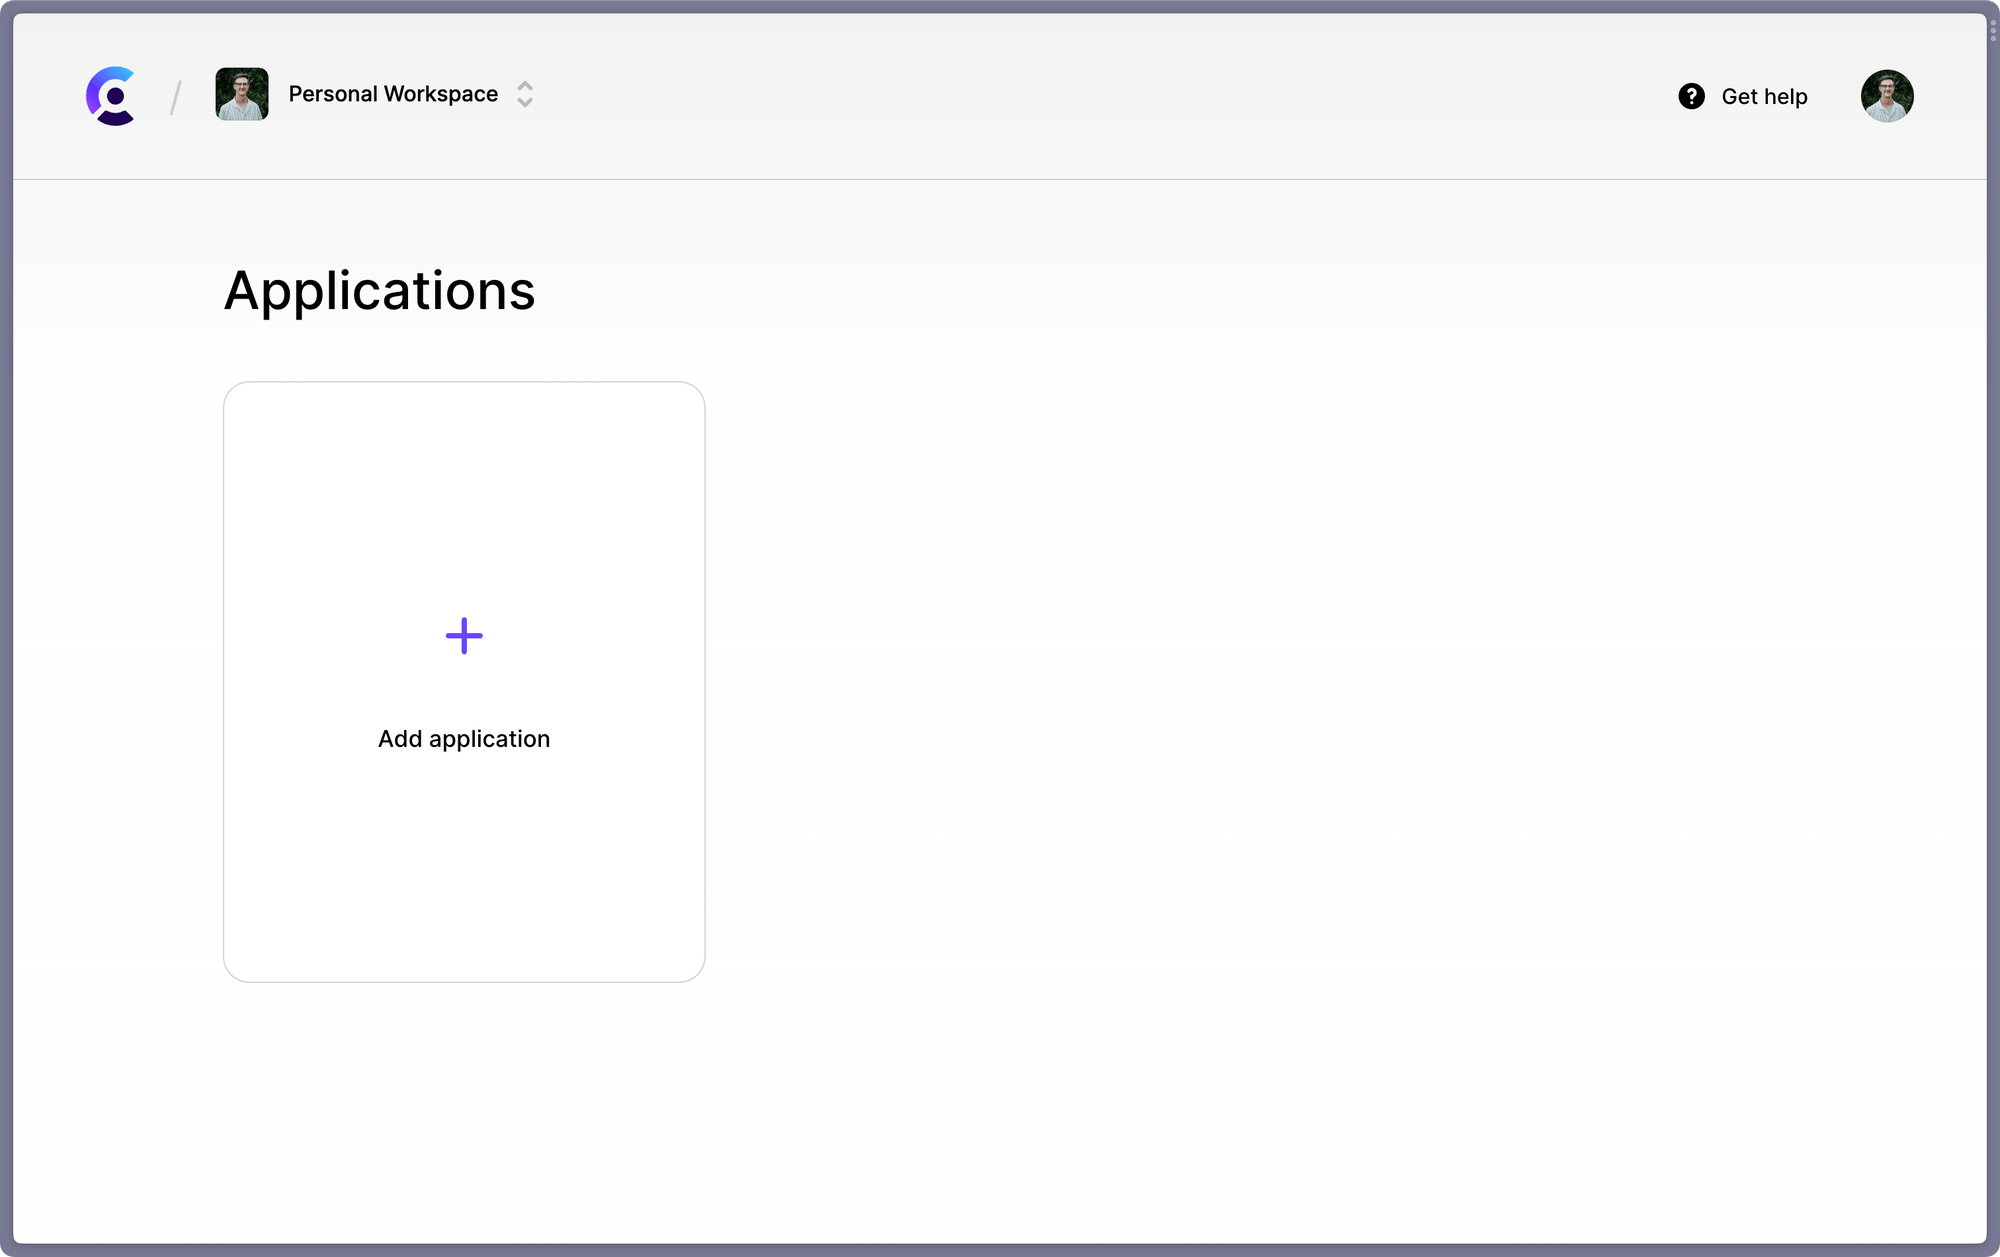
Head over to Clerk and sign up. After signing up you should land in a personal workspace with the option to create an application.
Click Add application:
This will open a view that allows you to customize the sign up and sign in elements and choose your authentication methods. Customize this however you like.
Store the application secrets
The important piece comes after this. The page you are redirected to contains your project's secrets: NEXT_PUBLIC_CLERK_PUBLISHABLE_KEY and CLERK_SECRET_KEY.
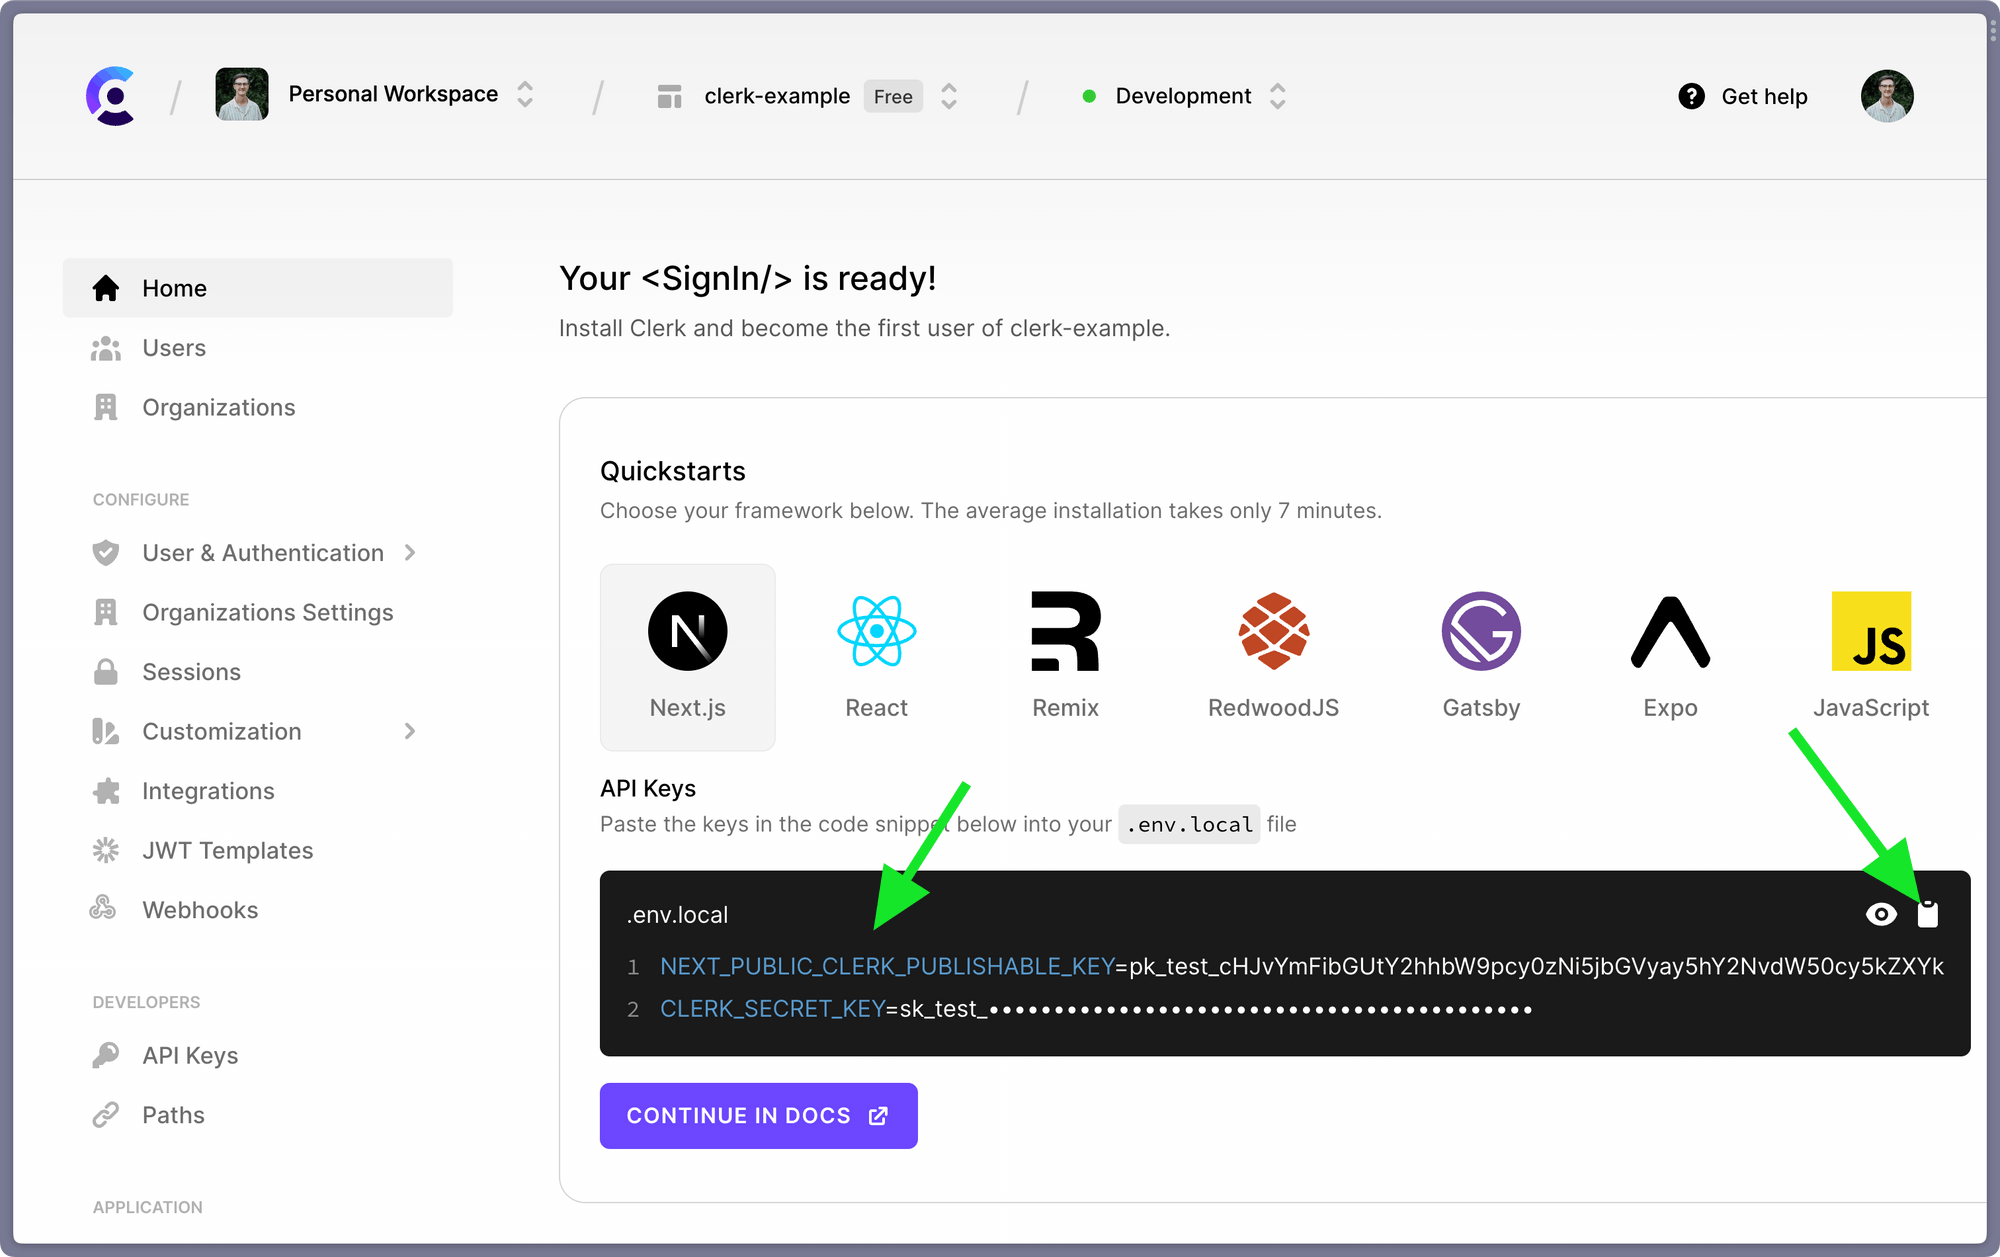
Copy those values by clicking the clipboard icon.
Those values will need to be stored securely for your application to access. At the root of your application create a new file named .env:
$ touch .env
Paste the contents you copied into this file:
# .env
NEXT_PUBLIC_CLERK_PUBLISHABLE_KEY=pk_fake_cHJvYmFmbGUtY2hhbW9pcy0zNi5jbGVyay5hY2NvdW50cy5kZXYk
CLERK_SECRET_KEY=sk_fake_gdcBCVQM0TEQaA5krQI154JbRWJDgWIKP5LHSwuYw3
Never store or post your keys anywhere they can be publicly accessed! These values are fake.
Set up the Clerk provider
To begin using Clerk in your application, you first need to install it.
Install Clerk's Next.js SDK with the following command:
$ npm i @clerk/nextjs
This package gives you access to various tools Clerk provides, including a React context provider which provides session and user data to Clerk's components.
Within src/app/layout.js, import ClerkProvider and use it to wrap the application:
// src/app/layout.js

import "./globals.css";
import { Inter } from "next/font/google";
import { ClerkProvider } from "@clerk/nextjs"; // 👈🏻

const inter = Inter({ subsets: ["latin"] });

export const metadata = {
  title: "Create Next App",
  description: "Generated by create next app",
};

export default function RootLayout({ children }) {
  return (
    <ClerkProvider> // 👈🏻
      <html lang="en">
        <body className={inter.className}>{children}</body>
      </html>
    </ClerkProvider> // 👈🏻
  );
}
The layout.js file is a special file in Next.js. Read more about it here.
Add the authentication middleware
The next step is to add middleware to the application. This middleware will intercept every navigation and verify the current user and session have access to the destination page.
Create a new file in src/ named middleware.js:
$ touch src/middleware.js
Inside that file, add the following code snippet:
// src/middleware.js

import { authMiddleware } from "@clerk/nextjs";

// This example protects all routes including api/trpc routes
// Please edit this to allow other routes to be public as needed.
// See https://clerk.com/docs/nextjs/middleware for more information about configuring your middleware
export default authMiddleware({});

export const config = {
  matcher: ["/((?!.*\\..*|_next).*)", "/", "/(api|trpc)(.*)"],
};
This
middleware.jsfile is another special file that Next.js handles and applies automatically. See more information here.
Within this middleware, you can configure which pages in your application are protected and should only be viewed by signed-in users.
Add The Sign-In Page
With the middleware and Clerk context in place, we are now ready to build a sign-in page.
Create a new directory in src/app named sign-in/[[...sign-in]] and a new file inside of that new directory named page.js
$ mkdir -p "src/app/sign-in/[[...sign-in]]"
$ touch src/app/sign-in/'[[...sign-in]]'/page.js
The file path for this looks strange because it uses Next.js's new App directory with file-based routing. This means Next.js looks at the files and folders in the src/app directory and builds your application's routing automatically based on how they are named.
For information on this, refer to the docs here.
This new file is where you will build your sign-in page. Add the following to src/app/sign-in/[[...sign-in]]/page.js:
// src/app/sign-in/[[...sign-in]]/page.js

import { SignIn } from "@clerk/nextjs";

export default function Page() {
  return <div className="h-screen w-full flex items-center justify-center">
    <SignIn />
  </div>
  ;
}
This adds a sign-in page, but we also need to configure where to navigate the user after the sign-in action is completed.
Add the following to .env:
# .env
# ... other variables
NEXT_PUBLIC_CLERK_SIGN_IN_URL=/sign-in
NEXT_PUBLIC_CLERK_AFTER_SIGN_IN_URL=/
The variables shown here are used by Clerk to determine where the sign-in page is and where to navigate the user after a sign-in is complete.
Add user details to the screen
You now have a complete and functional sign-in page and measures in place to keep your application secure. In src/app/page.js, replace all of the existing code with the following to show the logged in user after logging in:
// src/app/layout.js

import { UserButton } from "@clerk/nextjs";
import { currentUser } from "@clerk/nextjs";

export default async function Home() {
  const user = await currentUser();
  return (
    <div className="h-screen w-full flex flex-col">
      <header className="bg-slate-800 w-full p-3 h-16 flex items-center">
        <UserButton afterSignOutUrl="/" />
      </header>
      <main className="flex-1 flex items-center justify-center">
        <div>Hello {user?.firstName}!</div>
      </main>
    </div>
  );
}
The snippet above displays the signed-in user's name as well as a component provided by Clerk, UserButton, which allows a user to sign out and manage their account.
Test it out
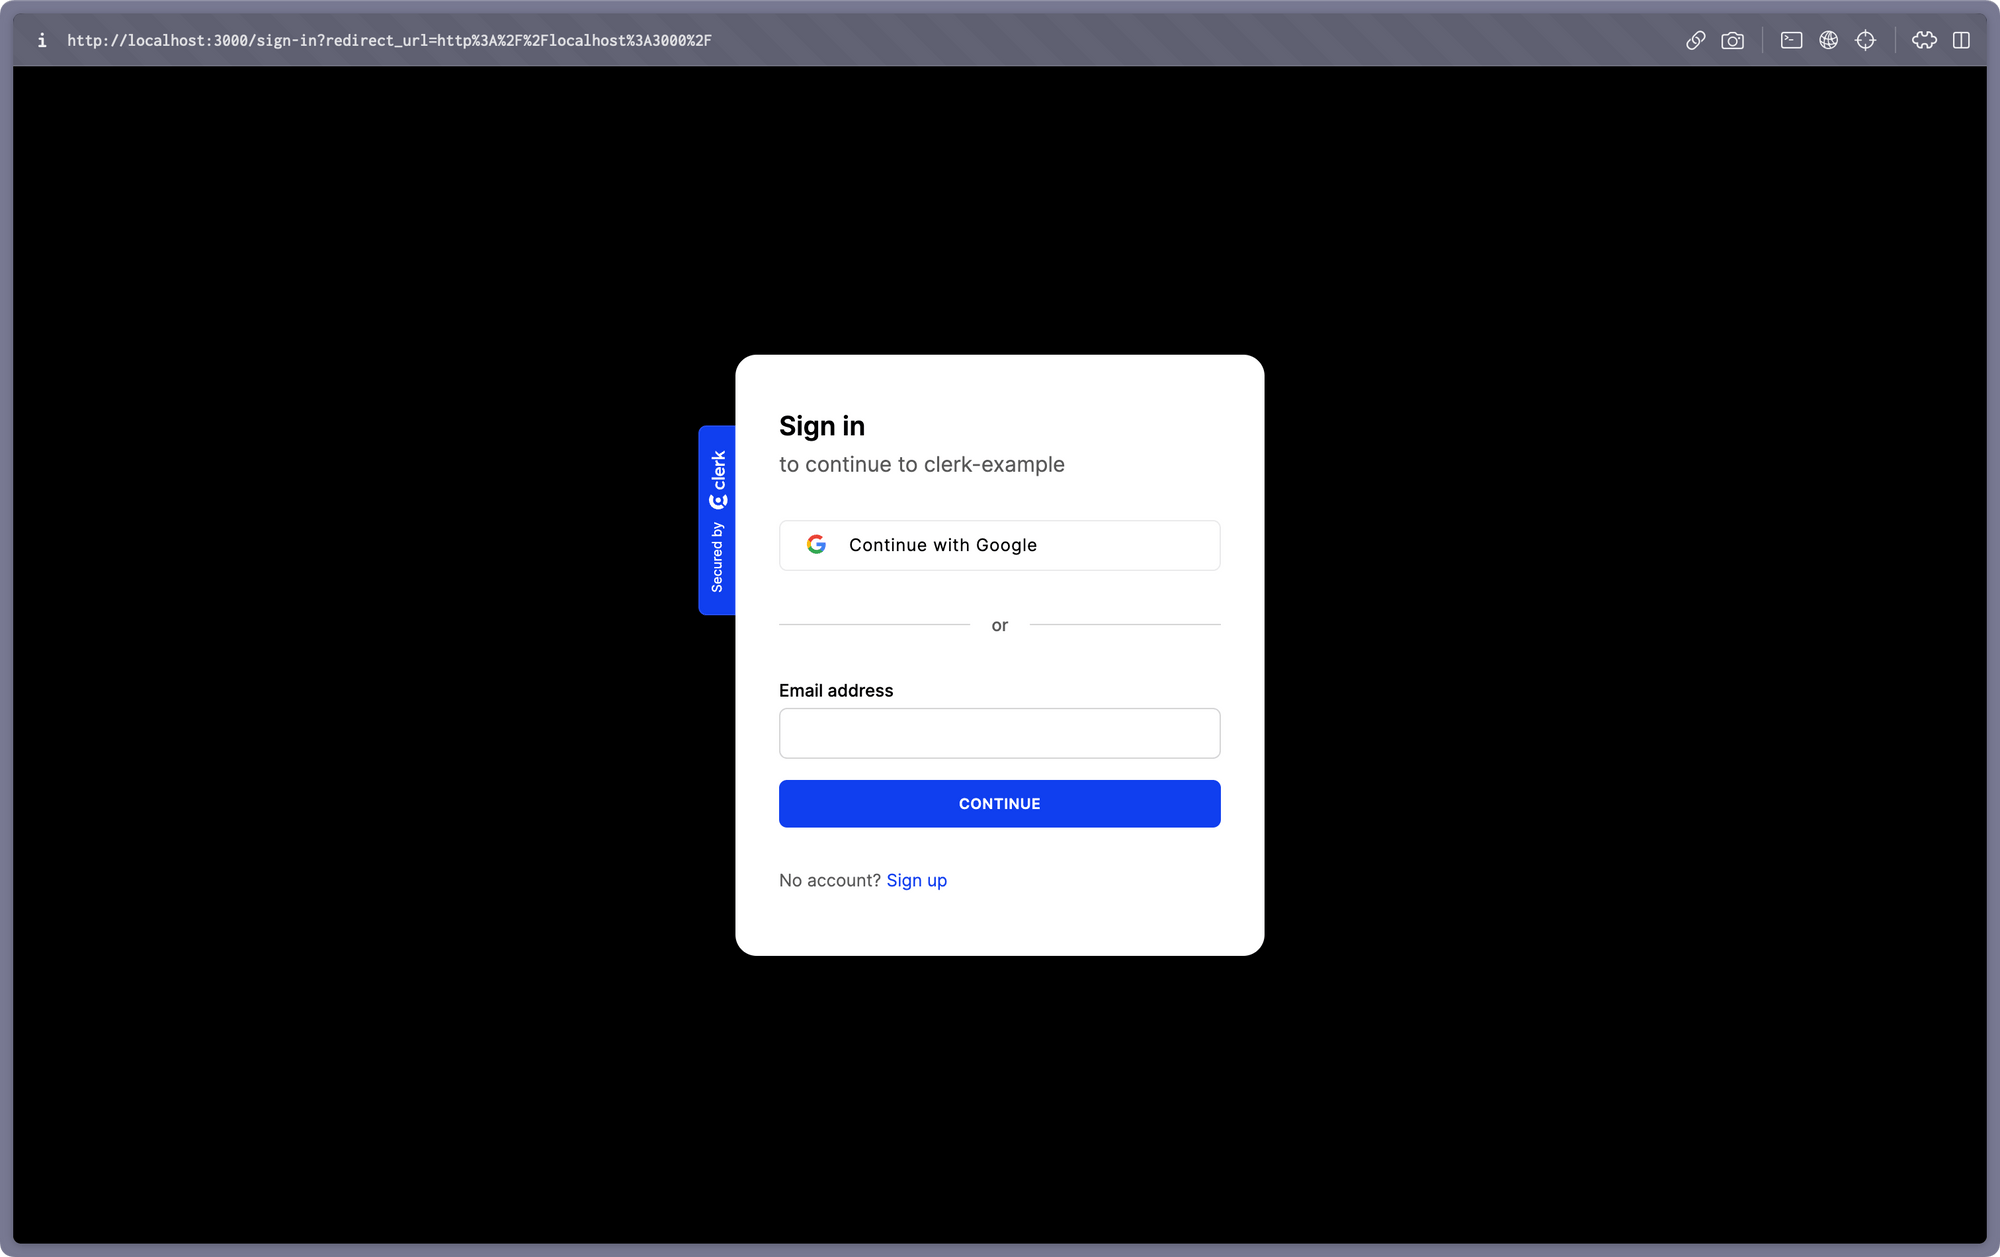
At this point, your authenticated application is complete! Start up the application by running:
$ npm run dev
Then head over to http://localhost:3000 in your browser. You should find yourself on the sign-in page:
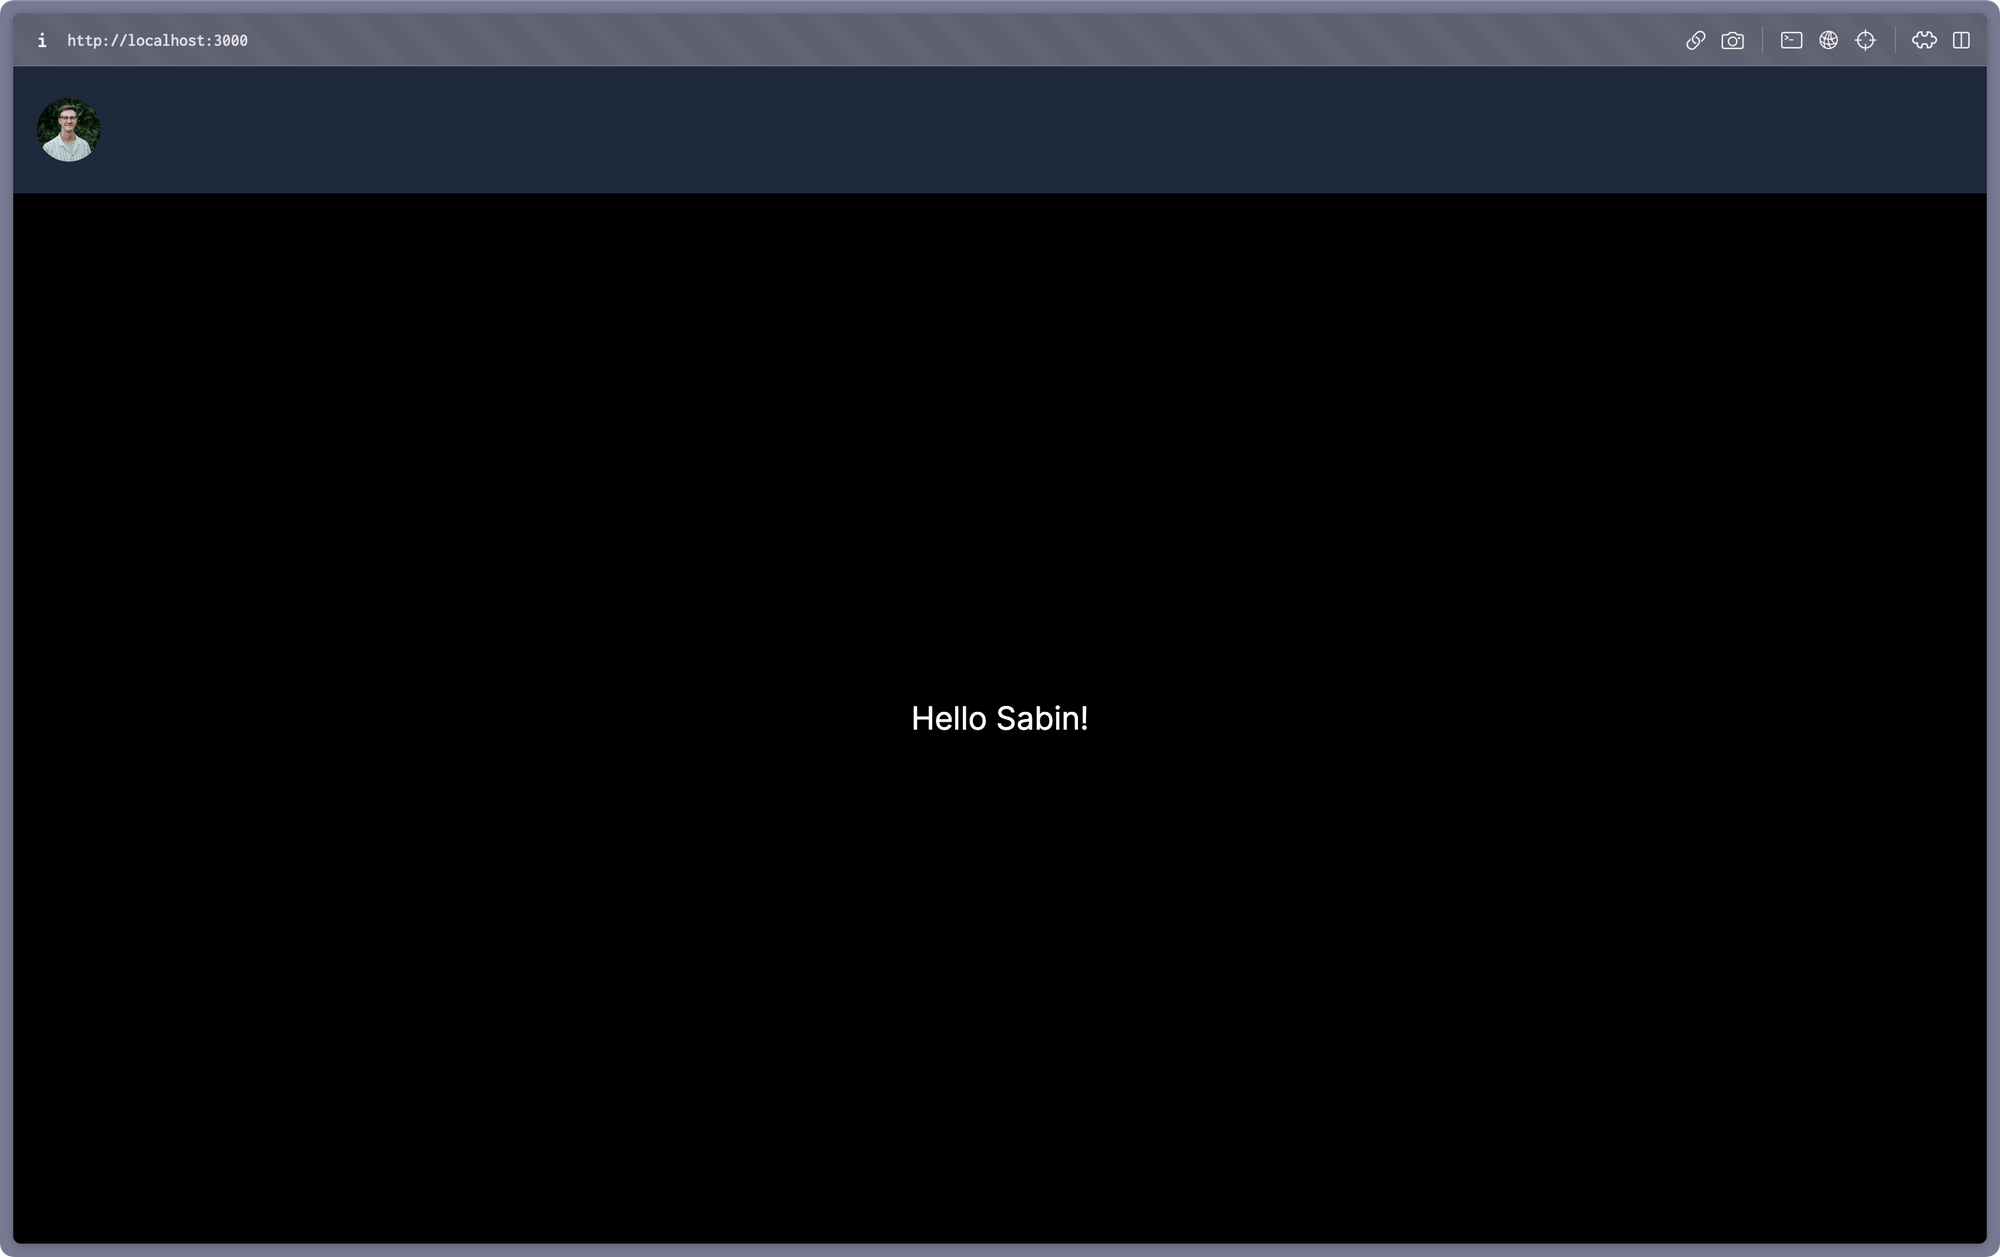
Signing in will redirect you to the root page and show your user details:
All that is needed now is to add more pages and finish your secure application!
Recap
Over the course of this tutorial, you learned how to:
- Set up a Next.js application
- Install and configure Clerk
- Use Clerk to authenticate your application
The resulting application is equipt with a secure sign-in that allows you to create an account or sign in with Google. With different configurations and customizations, you can allow users to sign in with other social accounts.
Next steps
With this foundation in place, you can now begin to extend the application by adding new pages, updating the middleware to allow public access to specific pages, and much more!
Thanks for following along!