Are you preparing for a technical interview for a position where you'll be working with React? One of the more common tasks I've seen given to interviewees is: "build a simple tic tac toe game".
Oftentimes, the individual you are coordinating interviews with will give you a vague overview of what to expect during your technical interview. If they mentioned implementing a simple game, you're in the right place!
If you just want to check out the final result, head over to this GitHub repository.
Why is Tic-Tac-Toe used for technical interviews?
As is the case with most technical interviews, the tic tac toe challenge gives the interviewer a chance to see a few things:
- How you think about building a feature
- Your depth of knowledge in React
- Your communication
During an interview where you are asked to build anything, not just tic-tac-toe, it is essential to understand that the interviewers are on your side and expect a collaborative session.
If you get stuck, ask questions! Not sure about the prompt? Ask about it! The more you show that you are a team player who isn't afraid to ask for help, the more of a full picture you give the interviewer about what it will be like to work with you.
Aside from personality and collaboration skills though, this test is a great way to see if an individual understands things like:
- State management
- Controlled components
- Context API
- CSS and JSX skills
- Basic JavaScript skills
What a solution might look like
There are many different ways you could build this game. Here I will walk you through a solution I believe is pretty straightforward and uses patterns that demonstrate a good understanding of React.
This tutorial will assume your technical assessment requires you to use TypeScript, however the concepts translate to JavaScript.
The starting point
Typically during a technical interview with a React-based challenge, you will start with a basic React app. Likely in a platform such as CoderPad or CodeSandbox.
The starting point will typically include things like:
- The basic setup for running a React project
- A
src/folder containing anApp.tsxandmain.tsx - Likely some other files that can be deleted or ignored
For the most part, you will not have to worry much about the starting files as your focus will be in App.tsx and new files you add yourself.
Build the game board
To begin building the game, we will build a component that acts as the game board. This is where all of the squares from the tic tac toe grid will eventually be rendered.
To do this, create a new folder within the src/ directory named components and a new file in that folder named GameBoard.tsx:
mkdir src/components
touch src/components/GameBoard.tsx
You'll likely be in an online editor where you will have to create these manually via the UI
The GameBoard.tsx file will export a function component as its default export:
// src/components/GameBoard.tsx
import React from 'react'
const GameBoard: React.FC = () => {
  return <></>
}

export default GameBoard
This component needs to render a 3 x 3 grid of squares. We will assume there is a root-level App.css file where we can provide global styles for the purposes of this tutorial.
In App.css, add the following:
/* src/App.css */
.gameboard {
  display: grid;
  grid-template-columns: repeat(3, 1fr);
  border-radius: 10px;
  overflow: hidden;
}
This should give us a class that will style a div's contents as a 3 x 3 grid.
// src/components/GameBoard.tsx
import React from 'react'
const GameBoard: React.FC = () => {
  return <div className="gameboard">
    {/* Render grid here! */}
  </div>
}

export default GameBoard
At this point, we have a GameBoard component that is ready to render some grid items on the game board. Next, we will tackle that.
Build the square component
To start the component that will be rendered for each grid item, create a new file in src/components named Square.tsx:
// src/components/Square.tsx
import React from 'react'
const Square: React.FC = () => {
  return <></>
}

export default Square
This component will render the square that will contain either an X or an O. Create another class to style these squares:
/* src/App.css */
.square {
  width: 100px;
  height: 100px;
  border: 1px solid gray;
  background: #f1f1f1;
  display: flex;
  align-items: center;
  justify-content: center;
}
And then put that to use in the new component:
// src/components/Square.tsx
import React from 'react'
const Square: React.FC = () => {
  return <div className="square"></div>
}

export default Square
Within that div tag is where you will render an X or an O depending on which player clicked the square.
To prepare this component for its future usage, define a few properties that you can pass it to specify the user who selected it and a click handler function:
// src/components/Square.tsx
import React from 'react'

type props = {
  user: string | null
  onClick: () => void
}

const Square: React.FC<props> = ({ user, onClick }) => {
  return <div className="square" onClick={onClick}>
    {user}
  </div>
}

export default Square
We have a game board and a way to render squares on that board now. What we need next is some structure to store the game's data and render the board based on that data.
At this point we are not actually rendering either of the components we have built. That will come soon, hang tight!
Build the game state using the Context API
To handle the state data in this application, you will use React's Context API. This API gives you a way to provide global state management to your application, allowing you to easily share data across components.
To stay organized, contexts are typically stored in their own folder. Create a new folder in src/ named contexts and a file in that new directory named GameState.tsx:
mkdir src/contexts
touch src/contexts/GameState.tsx
This file is where we will create our context. Open it up and start by creating a new context and exporting it:
// src/contexts/GameState.tsx
import React, { createContext } from 'react'

export type GameState = {
  users: string[]
  activeUser: string
  selections: Array<string | null>
}

export const GameStateContext = createContext<GameState>({
  users: ["x", "y"],
  activeUser: null,
  selections: [],
})
In the snippet above, we are importing the createContext function which allows us to create a React context. We are also creating a type GameState to define the properties this context exposes. For now, it contains:
users: An array containing the two players' dataactiveUser: The user whose turn it isselections: The data for each individual grid item
At this point, we have a context, but we also need to export a component that provides that context using a provider:
// src/contexts/GameState.tsx
import React, { createContext, useState } from 'react'
// ...
export const GameStateProvider: React.FC = ({ children }) => {
  const [activeUser, setActiveUser] = useState("x")
  const [selections, setSelections] = useState<Array<string | null>>(
    Array(9).fill(null)
  )

  return <GameStateContext.Provider value={{
    users: ["x", "y"],
    activeUser,
    selections,
  }}>
    {children}
  </GameStateContext.Provider>
}
Notice useState as added to the imports from the react library
This provider component will wrap the entire application, giving it global access to the data it provides. Important to note here are:
- The
childrenargument, which contains the child components the provider will eventually wrap. - The
useStateinvocations. We are initializing the provider's state with two pieces of data. theactiveUserwhich is"x"by default andselectionswhich contains an empty array with a length of9.
There will be a bit more to add to this file, however for now let's move on to putting the context to use so we can begin rendering the game board.
Use the GameState context
To use the context, we will first import the provider component and wrap the entire application in it.
Head into src/App.tsx and put the provider to use by importing it and wrapping the JSX contents in the component:
// src/App.tsx
import './App.css'
import { GameStateProvider } from './contexts/GameState'

function App() {
  return (
    <GameStateProvider>
      {/* original contents */}
    </GameStateProvider>
  )
}
Anything contained inside of that GameStateProvider component will have access to the GameState context.
The GameBoard component will be the entry point for this game. Next import that and replace the contents inside of the GameStateProvider with that component:
// src/App.tsx
import { GameStateProvider } from './contexts/GameState'
import GameBoard from './components/GameBoard'

function App() {
  return (
    <GameStateProvider>
      <GameBoard />
    </GameStateProvider>
  )
}
This will cause the GameBoard to be rendered on the screen, although that component does not currently render any of the squares.
Render the game grid
If you think back to the GameState context initialization, you will remember we initialized the state with an array of nine items, which represents the grid items on the board. To render the game's UI we will render a square for each of the grid items.
In src/components/GameBoard.tsx, use useContext to gain access to the context's data and render a Square component for each item in the selections array:
// src/components/GameBoard.tsx
import React, { useContext } from 'react'
import Square from './Square'
import { GameStateContext } from '../contexts/GameState'

const GameBoard: React.FC = () => {
  const { selections } = useContext(GameStateContext)

  return <div className="gameboard">
    {
      selections.map(
        (selection, i) =>
          <Square
            key={i}
            user={selection}
            onClick={null}
          />
      )
    }
  </Container>
}

export default GameBoard
For each item in the array, you are now rendering a Square and passing along the selection data to that square. Eventually, this will hold the name of the user that clicked that square.
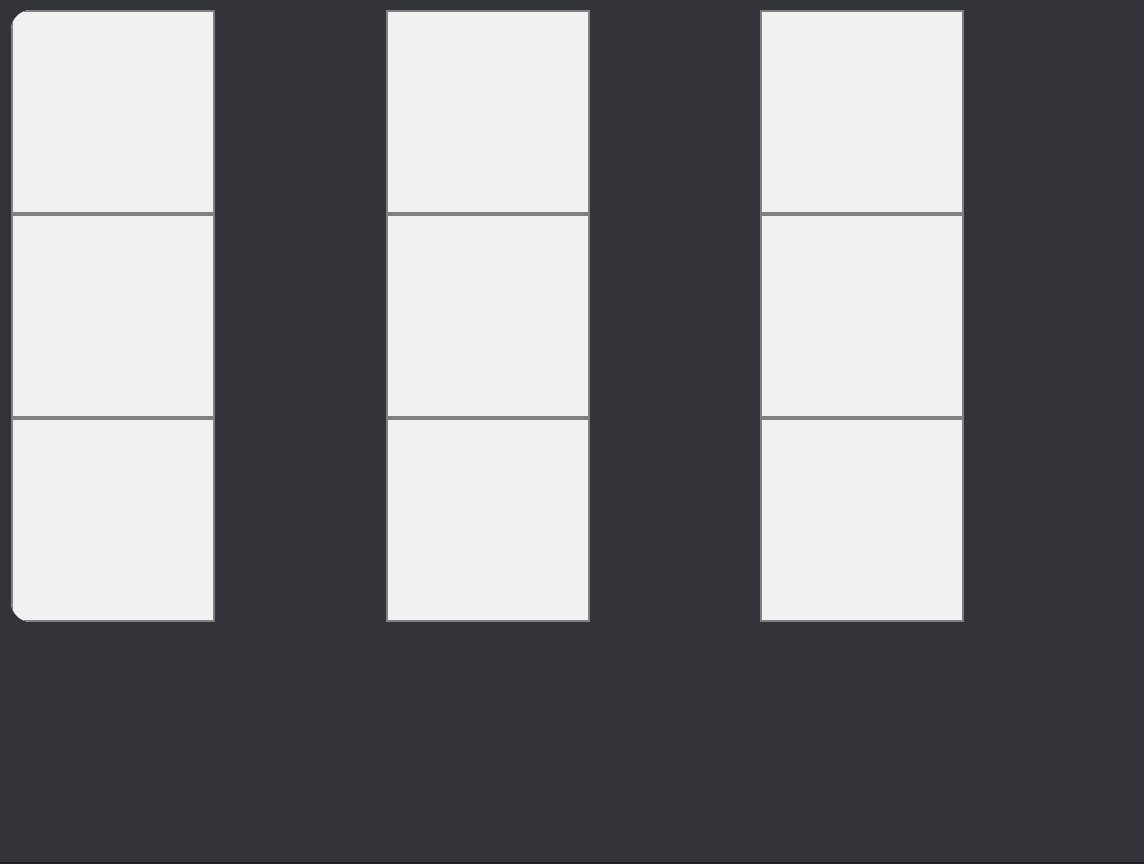
If we take a look at the screen, however, we will see a very unorganized grid:

Let's fix this by wrapping the game board in a new div in App.tsx and adding some styles in App.css:
// src/App.tsx
// ...

function App() {
  return (
    <GameStateProvider>
      <div className="container">
        <GameBoard/>
      </div>
    </GameStateProvider>
  )
}

export default App

/* src/App.css */
/* ... */
.container {
  display: flex;
  width: 100vw;
  height: 100vh;
  align-items: center;
  justify-content: center;
  background: white;
  font-family: roboto;
}
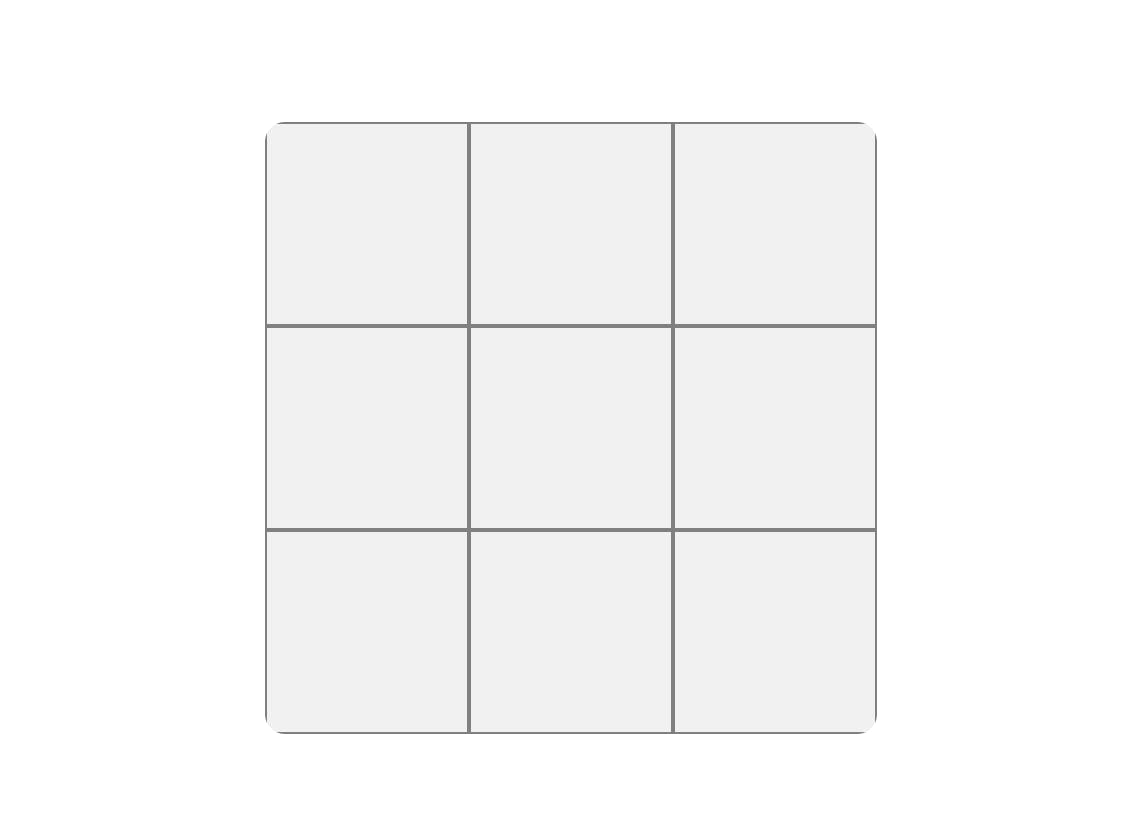
And with those adjustments, you should now see a formatted tic tac toe grid!

We are now rendering a tic tac toe grid and have access to a global state. You have all the pieces you need to begin making this grid functional!
Give players the ability to select a square
To begin, we need to add a method and make it accessible via the global state that mutates the selections array when a user clicks a square. Clicking a square should also switch the turn to the next player.
In src/contexts/GameContext.tsx make the following changes to add a function that selects a square based on the current player and then passes the turn to the next player:
// src/contexts/GameContext.tsx
import React, { createContext, useState } from 'react'

export type GameState = {
  users: string[]
  activeUser: string
  selections: Array<string | null>
  makeSelection: (squareId: number) => void // 👈🏻
}

export const GameStateContext = createContext<GameState>({
  users: ["x", "o"],
  activeUser: null,
  selections: [],
  makeSelection: null, // 👈🏻
})

export const GameStateProvider: React.FC = ({ children }) => {
  const [activeUser, setActiveUser] = useState("x")
  const [selections, setSelections] = useState<Array<string | null>>(
    Array(9).fill(null)
  )

  // Allows a user to make a selection 👇🏻
  const makeSelection = (squareId: number) => {
    // Update selections
    setSelections(selections => {
      selections[squareId] = activeUser
      return [...selections]
    })

    // Switch active user to the next user's turn
    setActiveUser(activeUser === 'x' ? 'o' : 'x')
  }

  return <GameStateContext.Provider value={{
    users: ["x", "o"],
    activeUser,
    selections,
    makeSelection // 👈🏻
  }}>
    {children}
  </GameStateContext.Provider>
}
Take note of where the hands are pointing! Those are the changes that were made.
That's a big code snipped, so let's see what changed:
- The
GameStatetype needed a new property calledmakeSelectionto define the function we are adding - The
GameStateContextneeded an initial value formakeSelection - The provider defines the functionality for
makeSelection - The
makeSelectionfunction is provided to thevalueattribute of the provider, exposing it to any component that uses that context
The makeSelection function itself does two things. It takes in the squareId, which is its index in the selections array and uses that to update the value of that index with the name of the current player. It then sets the activeUser to whichever player did not just make a selection, passing the turn.
As a result, this function allows a user to select a square and pass the turn. What's left is to put it to use. Head into GameBoard component and pass this to the onClick handler of the Square components being rendered:
// src/components/GameBoard.tsx
// ...

const GameBoard: React.FC = () => {
  const {
    selections,
    makeSelection // 👈🏻
  } = useContext(GameStateContext)
  return <div className="gameboard">
    {
      selections.map(
        (selection, i) =>
          <Square
            key={i}
            user={selection}
            onClick={() => makeSelection(i)} // 👈🏻
          />
      )
    }
  </div>
}

export default GameBoard
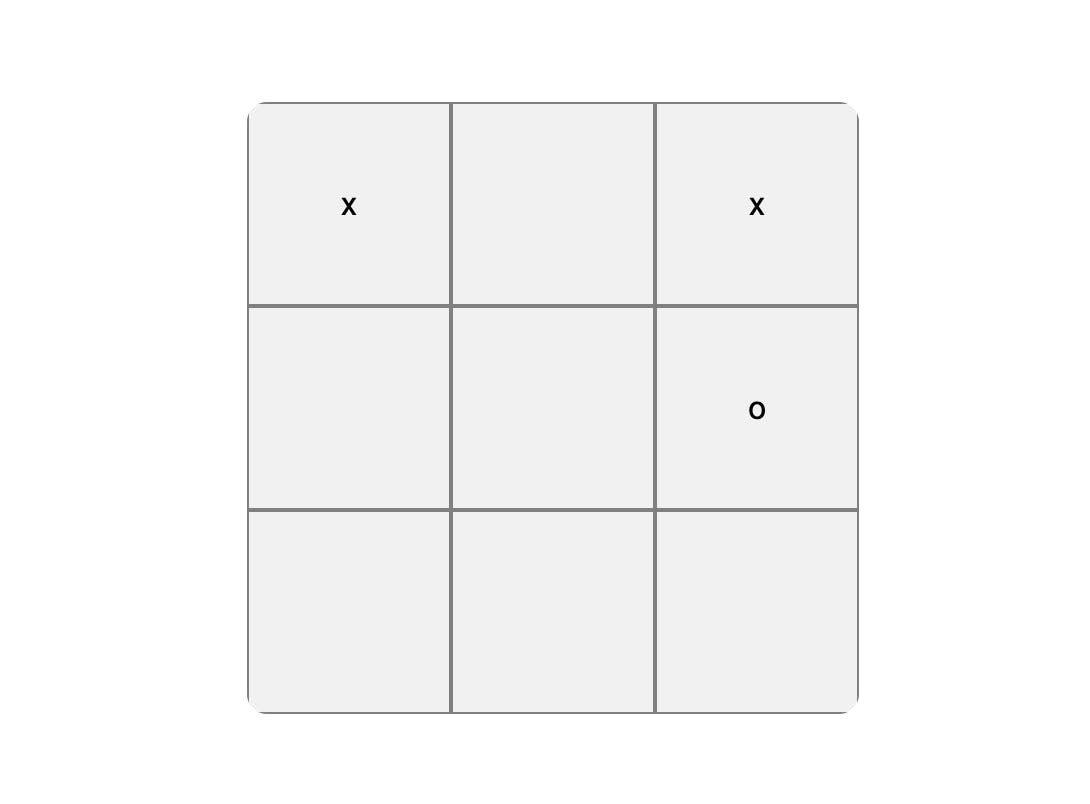
Now, when a square on the grid is clicked, the current player's symbol will be displayed:

What's left is to add the functionality to check for a winner and reset the game once a winner is found.
Check for a winner
When a player selects a square, a function should fire off that checks whether there is a winning combination.
To accomplish this, we will use useEffect within the GameContextProvider component. Every time selections changes, the effect will fire triggering the check for a winner.
Make the changes below to accomplish this:
// src/contexts/GameState.tsx
import React, { createContext, useState, useEffect } from 'react'
// ...
export const GameStateProvider: React.FC = ({ children }) => {
  const [selections, setSelections] = useState<Array<string | null>>(
    Array(9).fill(null)
  )
  // ...
  // 👇🏻
  useEffect(() => {
    // checkForWinner()
  }, [selections])

  return <GameStateContext.Provider value={{
    users: ["x", "o"],
    activeUser,
    selections,
    makeSelection
  }}>
    {children}
  </GameStateContext.Provider>
}
Remember to import useEffect!
Every time a grid item is selected (or more specifically, whenever the selections variable changes) the code inside of the useEffect callback will be run.
What we need to add to handle selecting a winner is add a new state variable and provide it via the provider named winner. When we check for a winner and find one, the player will be stored in that state variable.
Add the following to do this:
// src/contexts/GameState.tsx
import React, { createContext, useState, useEffect } from 'react'

// ...

export type GameState = {
  users: string[]
  activeUser: string
  selections: Array<string | null>
  makeSelection: (squareId: number) => void
  winner: string | null // 👈🏻
}

export const GameStateProvider: React.FC = ({ children }) => {
  // ...
  const [winner, setWinner] = useState(null) // 👈🏻
  // ...

  return <GameStateContext.Provider value={{
    users: ["x", "o"],
    activeUser,
    selections,
    makeSelection,
    winner // 👈🏻
  }}>
    {children}
  </GameStateContext.Provider>
}
Now there is a piece of state that can keep track of whether or not a winner has been selected and who it is. The last piece for handling a winner is the actual function that reads the game board and finds a line of three matching selections.
Add the following function and uncomment the contents of the useEffect callback:
// src/contexts/GameState.tsx
import React, { createContext, useState, useEffect } from 'react'

// ...

export const GameStateProvider: React.FC = ({ children }) => {
  // ...
  const checkForWinner = () => {
    const winningCombos = [
      [0,1,2],
      [3,4,5],
      [6,7,8],
      [0,3,6],
      [1,4,7],
      [2,5,8],
      [0,4,8],
      [6,4,2]
    ]

    winningCombos.forEach( combo => {
      const code = combo.reduce(
        (acc, curr) => `${acc}${selections[curr]}`,
        ''
      )
      if ( ['xxx', 'yyy'].includes(code) )
        setWinner(code[0])
      }
    )
  }

  useEffect(() => {
    checkForWinner()
  }, [selections])

  return <GameStateContext.Provider value={{
    users: ["x", "o"],
    activeUser,
    selections,
    makeSelection,
    winner
  }}>
    {children}
  </GameStateContext.Provider>
}
When a player wins the game, the winner state variable will be updated to contain the winning player's symbol. At the moment, there is no indication there was a winner though. Let's fix that and wrap up the game.
Display a winner and reset the board
To display a winner, we can make use of the new winner variable that is made accessible to the application via the context provider.
In the GameBoard component, add a useEffect that watches for changes to the winner variable. When that variable is updated and a winner is contained in that variable, display an alert signifying which player won:
// src/components/GameBoard.tsx
// 👇🏻
import React, { useContext, useEffect } from 'react'
// ...

const GameBoard: React.FC = () => {
  // 👇🏻
  const { selections, makeSelection, winner } = useContext(GameStateContext)

  // 👇🏻
  useEffect(() => {
    if ( winner !== null ) {
      alert(`Player ${winner.toUpperCase()} won!`)
    }
  }, [winner])

  return <div className="gameboard">
    {/* ... */}
  </div>
}

export default GameBoard
Don't forget to import useEffect!
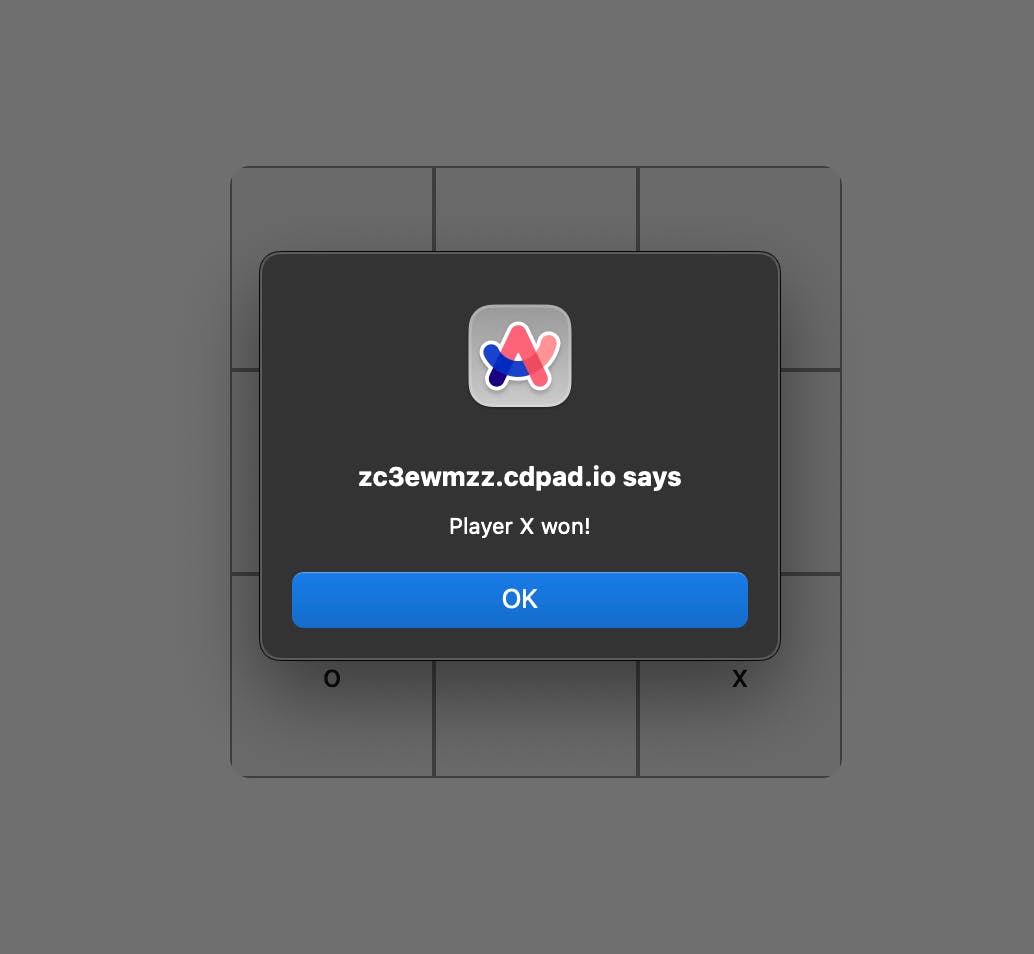
If a player selects three in a row, you should now see an alert signifying which user won!

Once that alert is dismissed, the game board does not change. There is currently no way to start over (other than refreshing the browser).
Add and expose a new function in the GameState context that resets the state variables to their original values:
// src/contexts/GameState.tsx
import React, { createContext, useEffect, useState } from 'react'

export type GameState = {
  // ...
  reset: () => void
}

export const GameStateContext = createContext<GameState>({
  // ...
  reset: null
})

export const GameStateProvider: React.FC = ({ children }) => {
  // ...

  const reset = () => {
    setSelections(Array(9).fill(null))
    setWinner(null)
    setActiveUser('x')
  }

  return <GameStateContext.Provider value={{
    // ...
    reset
  }}>
    {children}
  </GameStateContext.Provider>
}
This function will reset the game completely and should be run directly after the alert in the GameBoard component:
// src/components/GameBoard.tsx
import React, { useContext, useEffect } from 'react'

const GameBoard: React.FC = () => {
  // 👇🏻
  const { selections, makeSelection, winner, reset } = useContext(GameStateContext)

  useEffect(() => {
    if ( winner !== null ) {
      alert(`Player ${winner.toUpperCase()} won!`)
      // 👇🏻
      reset()
    }
  }, [winner])

  return <div className="gameboard">
    {/* ... */}
  </div>
}

export default GameBoard
Now, when you dismiss the alert you should see the game board is reset and ready for a new game!
Closing words
I really enjoy this task because, while it seems simple at first glance, it allows interviewers to see you understand concepts such as:
- Reusable components
- Global state management
- JSX
- Basic logic
- ... and more!
If you had trouble following through the tutorial above at all, you can also refer to this GitHub repository with the completed project.
Thanks so much for reading, and good luck interviewing!

